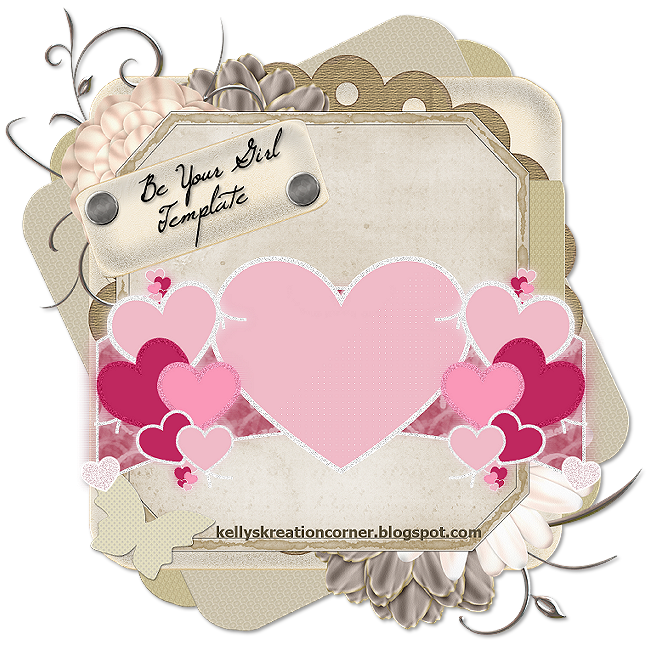
Could I Be Your Girl Tutorial
{Please click the tag to see the full size image}
This tag was created using PSP 7.
Supplies Needed :
- Tube of choice. I am using the awesome artwork of Mr Keith Garvey.
You can purchase his art
HERE.
- Template and wordart in the post below
- Font used- 2 Peas mister Giggles.This is a PTU font.
- Scrapkit optional. I used Missy's scrapkit Sweet_Valentine
You can download the kit
HERE
{Remember to leave some love when downloading}
TY Missy !
Lets Get Started :)
{1}
Open my template.
Delete the copyright layer.
Highlight the 'LgHeart' layer
Select all - float & defloat {KeepSelected}
Copy & paste the close up garv tube as a new layer.
Place where desired on the left side of the selected heart.
Selections-invert & delete.Select none.
Duplicate this layer.
On the duplicate layer effects - blur-gaussian blur of 3
Colorize - hue & saturation 0
Change the blend mode to soft light.
On the original close up layer lower the opacity to 57
{2}
Highlight the 'HeartClusters' layer of the template.
Using your magic wand select the top pink heart on the left side cluster.{keep selected}
Place the regular size garv tube as a new layer {place where desired over the selected heart}
Selections - invert & delete. Select none. Lower the opacity to 37.
-Repeat step 2 for the 2nd and 3rd heart on the cluster.
Now duplicate tube part 1,2 and 3 {that you just placed in the 3 hearts}
Image mirror.They should fall directly on the top of the opposite cluster.
{3}
Highlight the 'HeartCluster' layer again.
Effects - texture effects - Blinds
width = 3 opacity = 50 Color white.
{4}
Open my wordart. Resize to liking
Add a drop shadow of 2,2,40,5 Black
Place the wordart where desired. I placed mine at the right of the tag
Place the ? wordart pc as a new layer and rotate right 15
sharpen and plave on the small right glitter heart.
{5}
Add your name. I used color # C8507D
Add a desired gradient glow and drop shadow.
Place on the left side of the tag.
{6}
Copy & paste the garv tube that also has a box of chocolates on it as a new layer.
Add desired drop shadow and place at the left side of the LGHeart
{7}
You can now decorate your tag with some scrap pcs.
Place where desired and add a drop shadow.
You can look at my tag for reference.
{8}
All you got to do now is add your copyright info,crop/resize and save
I hope you enjoyed this tutorial and it wasn't too bad.
Its been a long time since I've written one.:)
Please feel free to
email me your results.
I'de love to see them & post them on my blog
This tutorial was written by Kelly Jan20,2010
Any resemblance to any other tutorial is purely coincidental
Do not copy/rewrite or claim as your own
©Kelly'sKreations2010
{ If your a group owner and using my tutorials for a challenge etc please leave me a link in my shout out box as to where the tutorial is being posted.Thank you so much }